Photographing the Buck Moon on July 29: Camera settings and tips
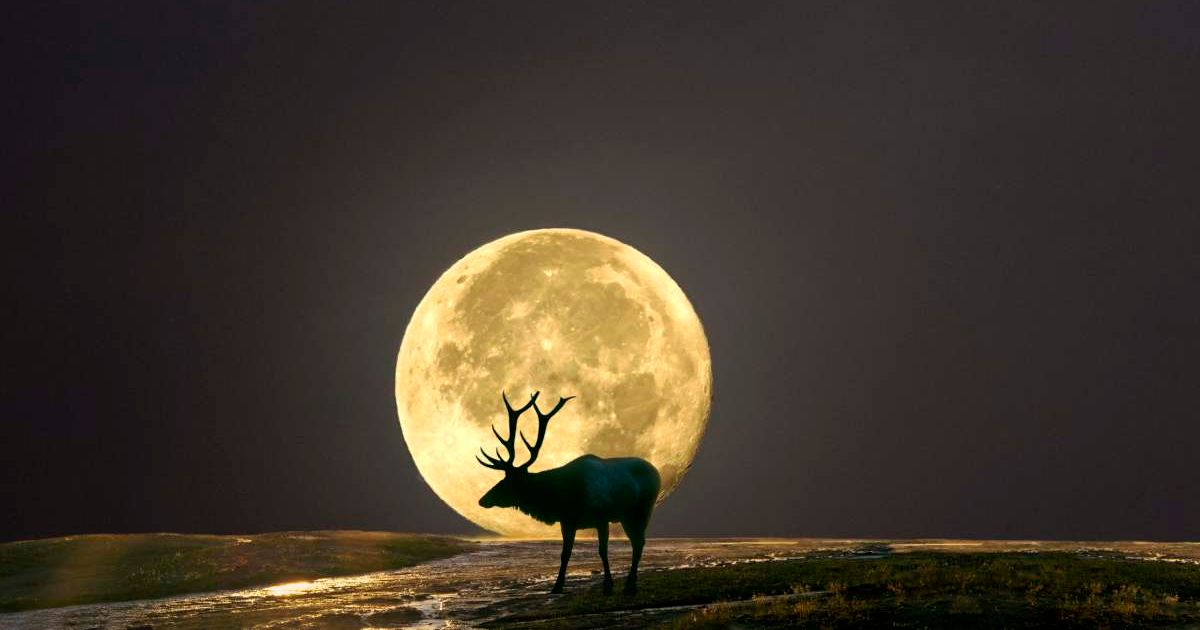
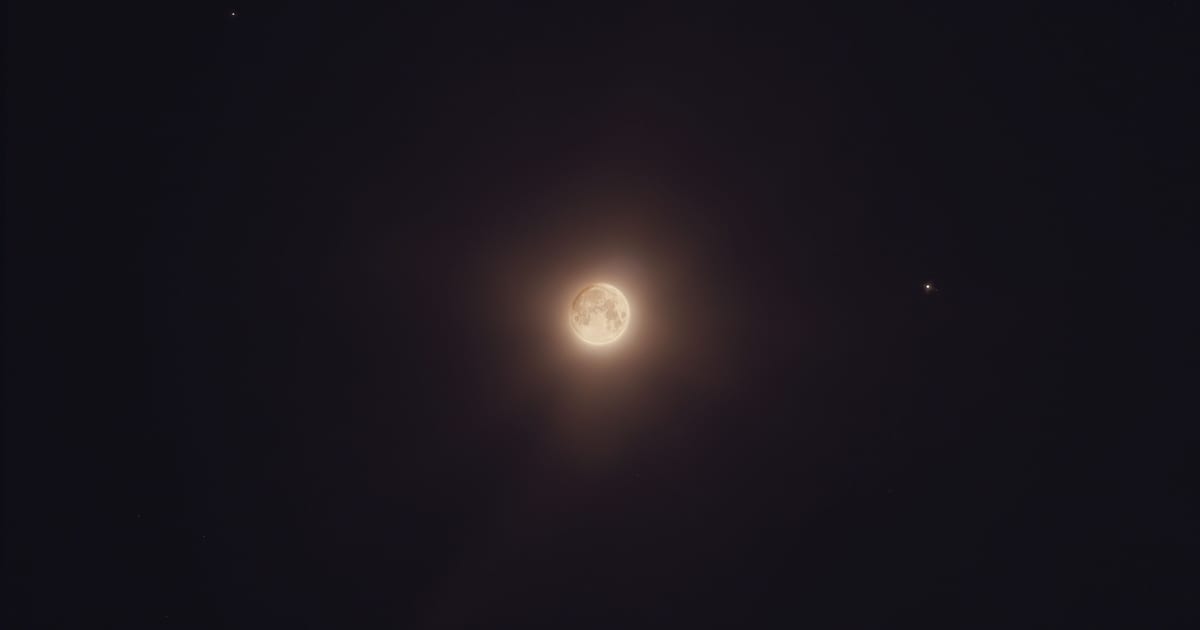
On July 29, 2026, the Moon will reach its full illumination with the advent of the Buck Moon—a name given to July's Full Moon. This is set to provide photographers around the world opportunities to capture several near-side lunar features with great detail. One will also have the chance to capture photos of the Moon with other terrestrial elements or buildings in the frame as the lunar disk rises from the horizon. The following are a few tips for capturing the Buck Moon or the Moon in general, for that matter.
Shooting in RAW
While smartphone cameras have come a long way, dedicated cameras give a significantly larger extent of control when capturing the lunar disk. You can adjust exposure parameters and have a wider variety of options over smartphone Moon photography when composing shots. If you own a DSLR or a mirrorless camera, sensor data can be preserved by setting up the camera to capture images in RAW mode rather than JPEGs alone. Such files are meant to avoid compression and give photographers room to edit pictures to a greater extent without losing details. Consider practicing "lucky imaging," which involves taking multiple photos so that at least a few turn out the way you want them to.
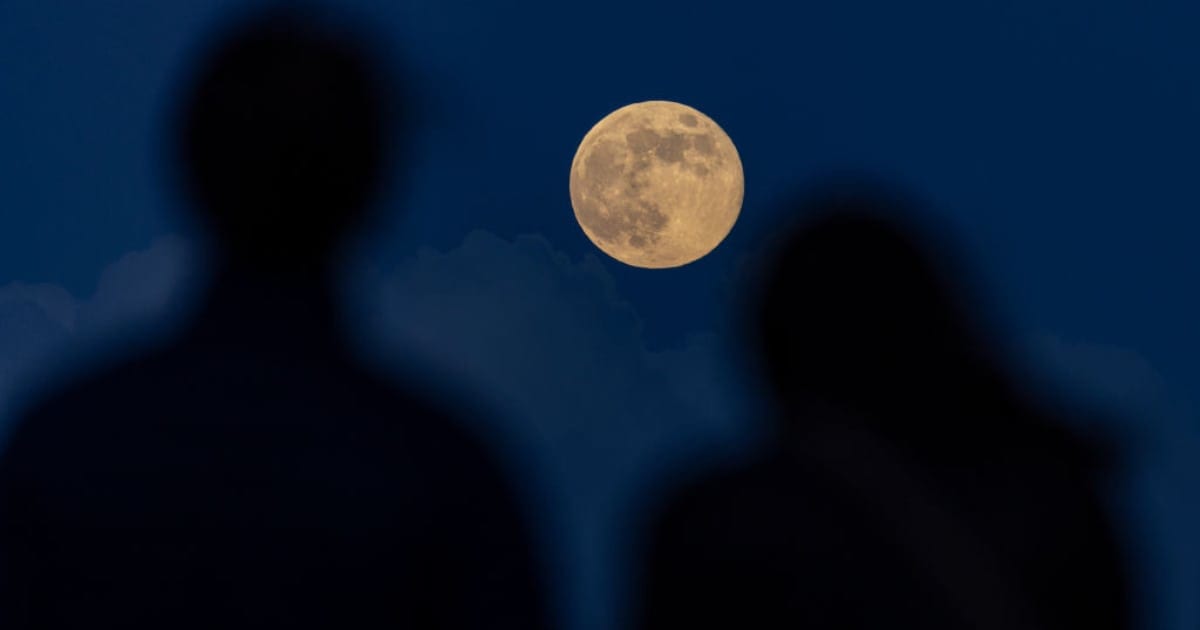
Define your creative goal
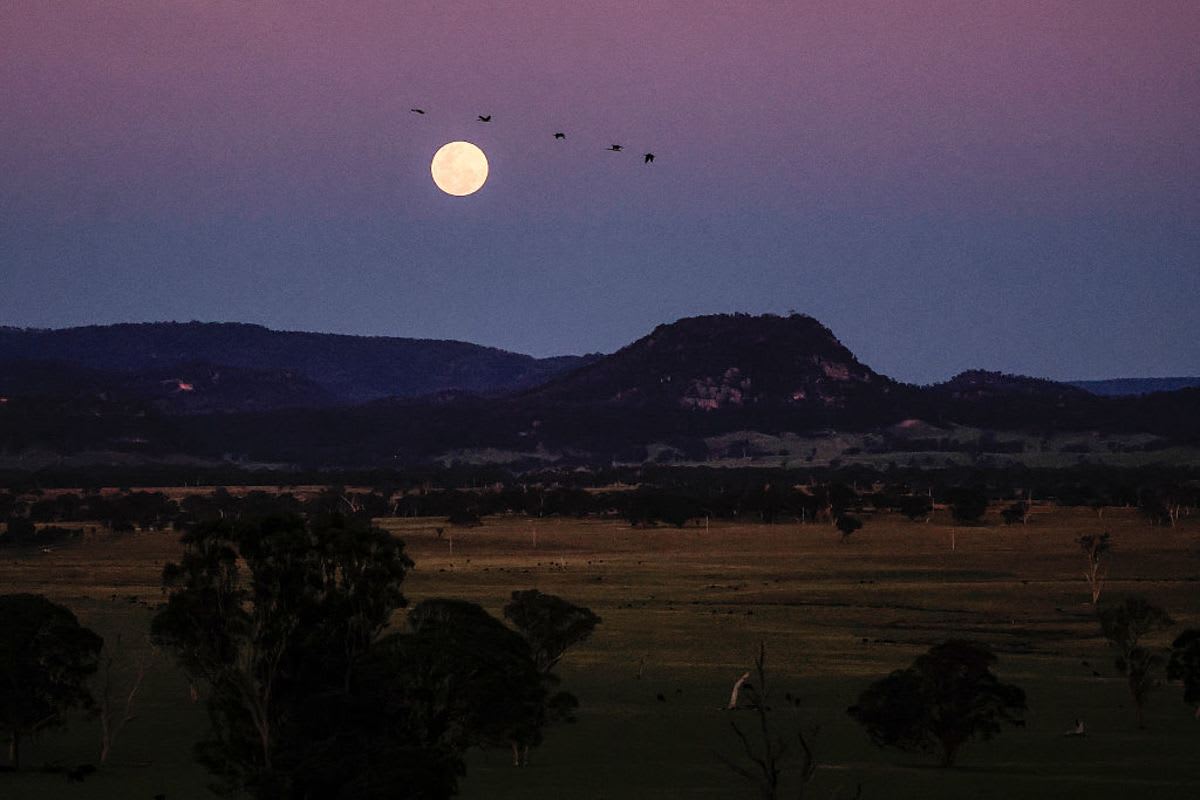
Before tweaking any dials, you would need to decide on a specific visual story you wish to capture and how much contextual information you wish to add to the frame. The choice of composition directly influences how you set up your shot. Photographers can ask themselves what they want the final image to feature, such as framing the Moon with natural foreground elements like trees or artificial ones like buildings and capturing the warm, orange hue of the Moon as it hovers near the horizon.
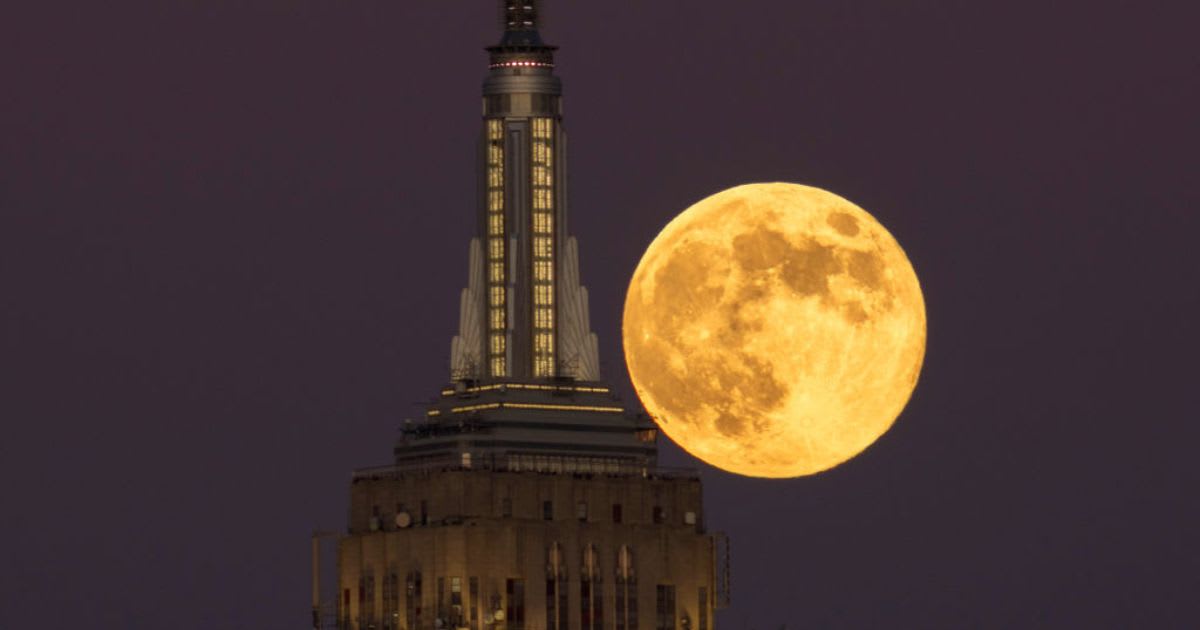
Take control with manual mode
Switch the camera out of auto mode and into manual mode since Moon photography often comes down to balancing three parameters: aperture (f-stop), exposure time (shutter speed), and ISO (sensitivity to light), and experimenting with each parameter could produce results unique to your city or location. The first core parameter, aperture, refers to the size of the opening that lets in light into the sensor. Smaller numbers, like f/2, indicate a wider opening that also produces a shallower depth of field, which, in turn, makes it difficult to get the Moon into focus. Larger numbers, like f/12, have the opposite effect. Shutter speed simply means for how long the sensor remains exposed to light, which is another way to control the amount of light and brightness—although long exposure times can lead to shaky images. Finally, high ISO values can make the image brighter but introduce more electronic noise and make images grainier. A rule of thumb—called the "Looney 11"—is a nice starting point and, at its most basic, has the aperture set to f/11, while ISO and exposure time are kept the same (e.g., if the ISO is 100, the exposure time should be 1/100).
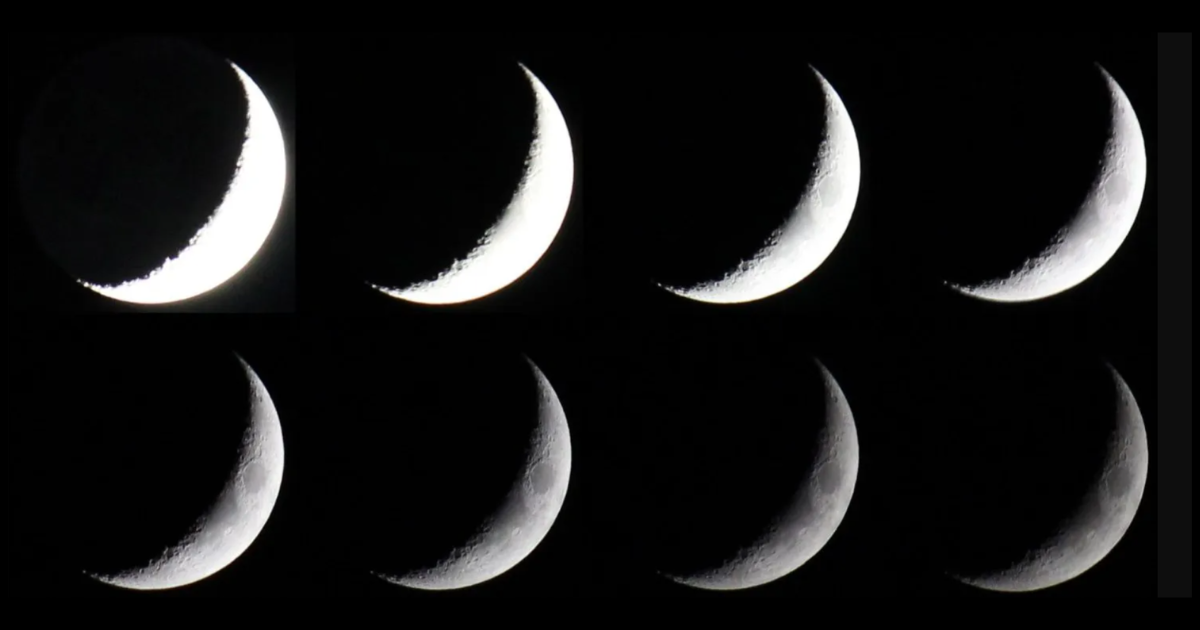
In addition to these tips, you should also be mindful of camera stability and the range of zoom available. Should your budget allow it, a camera can also be combined with a telescope to add the ability to zero in on the individual features of the Moon's near side. A T-ring and a prime focus T-adapter will allow you to attach a DSLR camera body to the tube of a telescope and use it as a lens. Whether the latter is part of your photography kit, following the aforementioned tips should help you capture the Moon in its various phases, including this month's unusually large Buck Moon.
More on Starlust
Buck Moon 2026: What else can you see in the sky during July's Full Moon?
Buck Moon myths and facts: What actually happens during July's Full Moon