Refractors Vs Reflectors: The Pros & Cons of Each Telescope Design


For centuries, telescopes have served as a portal to the cosmos, granting both professional and amateur astronomers a glimpse into the immense universe that envelops us. Dating back to Galileo's initial astronomical observations with his rudimentary telescope, these optical instruments have been the most essential tool in the world of stargazing.
For seasoned astronomy enthusiasts, the various types of telescopes suitable for star observation may already be well-known. However, for those just beginning their journey into the world of stargazing, understanding the differences between telescope designs and their implications for observing celestial objects is crucial to making an informed decision when choosing their first telescope.
My article aims to shed light on two of the most popular telescope designs: reflector and refractor telescopes. I will delve into the inner workings of both reflector and refractor telescopes, discussing their key components and how they shape the stargazing experience.
I will also provide a detailed comparison of their advantages and disadvantages, which will help you better understand how each design may cater to your specific astronomical interests and requirements.
Let’s start by introducing both optical designs.
Table of ContentsRefractor telescopes
Refractor telescopes, often regarded as the classic design, have been the preferred choice for stargazers since their inception in the early 17th century. Renowned for their low-maintenance design, sharp image quality, and very good performance when observing the Moon, planets, and double stars, refractor telescopes provide a reliable and user-friendly experience for both novice and experienced astronomers.
Key Components
- The objective Lens: The front lens that gathers and focuses incoming light, forming a sharp image of the celestial object. It is responsible for the telescope's light-gathering power and resolution.
- The tube Assembly: The long tube that houses the optical components, protecting them from dust, debris, dew, bugs, and environmental factors. It also maintains the proper alignment of the lenses.
- The focuser: A mechanical component that allows for the precise adjustment of the eyepiece's position to achieve a sharp focus on the celestial object being observed.
- The eyepiece: A smaller lens system, located at the rear end of the telescope, that magnifies the focused image created by the objective lens. Eyepieces are interchangeable, allowing you to try on different magnification levels and fields of view.
- The diagonal: An optional component placed inside the OTA that redirects the light path by 90 degrees, providing a more comfortable viewing angle and sometimes correcting the orientation of the image.
How do they work?
Refractor telescopes operate by utilizing a lens system at the front of the telescope, known as the objective lens, to collect and focus incoming light. As light passes through the objective lens, it converges at a specific point called the focal point, forming a focused image of the celestial object being observed.
An eyepiece is then used at the focal point to magnify the image, allowing the viewer to observe the object in greater detail. The refractor telescope, known for its simplicity in the realm of optical designs, owes its invention to the Dutch mathematician and astronomer Hans Lippershey.

Reflector Telescopes
Reflector telescopes, a popular alternative to the classic refractor design, have been a mainstay in the stargazing community since their introduction by Sir Isaac Newton in the late 17th century.
Known for their exceptional light-gathering capabilities, cost-effectiveness, and superior performance when observing deep-sky objects, reflector telescopes cater to the needs of both novice and experienced astronomers seeking a versatile and powerful observing tool.

Key Components
- Primary Mirror: The large, concave mirror situated at the rear of the telescope that collects and reflects incoming light towards the secondary mirror. The primary mirror is responsible for the telescope's light-gathering power and resolution.
- Secondary Mirror: A smaller, flat or slightly convex mirror placed near the front of the telescope that redirects the light from the primary mirror towards the eyepiece.
- Tube Assembly: The cylindrical structure housing the optical components, shielding them from dust, debris, moisture, insects, and external factors. It also maintains the proper alignment of the mirrors.
- Focuser: A mechanical component that allows for precise adjustment of the eyepiece's position to achieve sharp focus on the celestial object being observed.
- Eyepiece: A lens system, positioned at the side of the telescope, that magnifies the focused image formed by the primary and secondary mirrors.
How do they work
Reflector telescopes function by employing a primary mirror at the rear of the telescope to collect and focus incoming light. The light is then reflected towards a secondary mirror, which redirects the focused light to the eyepiece. Once the light reaches the eyepiece, the image is magnified, allowing the viewer to observe the celestial object in greater detail.
This innovative optical design, credited to the brilliant physicist and mathematician Sir Isaac Newton, has stood the test of time and continues to be a popular choice for stargazers seeking a powerful and reliable telescope for exploring the night sky.

The Pros & Cons of both designs
The perfect telescope does not exist. Every stargazer must come to terms with this fact, and discovering the optical design that best aligns with your requirements often involves an initial period of experimentation.
So let me give you a head start with some of the pros & cons I have found after using both reflectors and refractors extensively.
Refractor Advantages
1. They are low maintenance
The optical tube assembly (OTA) of a refractor telescope is sealed, which helps protect the internal components, which means that you won’t need to regularly clean the optics. As a lens-based optical system, refractors do not require recoating to maintain their performance. Lenses are also less susceptible to degrading over time, which ensures the longevity of the telescope.
Finally, the entire system is completely fixed and secured, so the alignment of each component will remain stable over time. You won’t need to regularly collimate the telescope.
2. They are quick and easy to set up
They are the easiest system to set up, you just need to find a flat ground to set up your tripod on, adjust the telescope on top of it, and secure the fixings you’re ready to go. You’re ready to explore the night sky in less than a minute.
3. They offer sharp and high-contrast images
Refractor telescopes are renowned for producing sharp and high-contrast images, thanks to their unobstructed light path and lens-based optical system. The carefully crafted and coated lenses enable precise focusing and minimize optical aberrations.
Modern refractor designs effectively control chromatic aberration by utilizing specialized glass or multiple lens elements. Consequently, refractors really good for observing celestial targets like the Moon, the planets, and double stars. It is precisely for their optical performance that refractors are the number one choice for astrophotographers
4. They are lightweight and easy to transport and store
Refractors, compared to other systems, are much smaller in size and much light in weight. They can be stored in a cupboard and won’t take up much space at all. You can carry them to your backyard with ease and without breaking your back. As someone in their late 30s, Trust me this is important :).
Additionally, if you are thinking of doing a stargazing/camping trip out in the outdoors, you can take your refractor with you and it’ll fit just fine in your vehicle’s trunk. I have friends who can fit theirs in their luggage when going on vacations…
Refractor Disadvantages
1. They have the highest cost per inch of aperture
Producing high-quality glass lenses is a complex and precise process that often involves specialized techniques and materials, such as extra-low dispersion (ED) or fluorite glass.
Crafting and polishing these lenses to the required level of precision can be time-consuming and expensive. There is currently no way to mass produce these at a lower cost whilst maintaining the highest level of quality that is required for stargazing.
2. Their aperture size is limited
Compared to reflectors, the aperture size of refractor telescopes is limited due to factors such as increased lens size, weight and thickness, lens sagging, chromatic aberration, and cost and manufacturing constraints.
Refractors with exceptionally large apertures do exist, such as the Alvan Clark 36" Refractor; however, these are observatory-grade telescopes and are not typically the type of telescope you’d see in someone’s backyard…
3. Some of them are will show chromatic aberration
Chromatic aberration occurs in refractor telescopes because their lenses act like a prism, causing different wavelengths (colors) of light to refract (bend) at slightly different angles as they pass through the glass. When this spectrum of light hits the focal point, the light rays (blue, green and red) do not converge at the same point, causing color fringing around the edges of observed objects and reducing image sharpness and contrast. This effect can be mostly witnessed when observing the moon.
Chromatic aberration is mostly prevalent in low-end and medium-budget refractor telescopes. There’s no secret here, a lower budget means lower quality of material, including lenses.
On the other hand, high-end refractor models often use special glass types, such as extra-low dispersion (ED) or fluorite glass, which reduce the dispersion of light and minimize chromatic aberration.
Premium refractor telescopes, mostly used by astrophotographers, employ apochromatic (APO) designs, which use a combination of three lenses to bring different wavelengths of light into focus at the same point, further mitigating the effects of chromatic aberration. Those systems often cost a few thousand dollars at a minimum.
4. It is more complex and costly to repair them
No telescope is immune to technical issues over time. As they are handled, transported, and used, they may begin to show signs of wear and tear. Refracting telescopes have a more complex optical system compared to reflecting telescopes, and their closed-off design makes it more challenging to access the internal components.
As a result, professional assistance is often required for repairs. Moreover, the cost of replacing glass lenses in refractor telescopes is typically higher than replacing mirrors in reflector telescopes.

Reflector Advantages
1. They offer the best bang for your buck in terms of aperture
Reflectors are the best value for money when it comes to how much aperture you can get. You can easily find an 8-inch to 10-inch reflector for just a few hundred bucks. Mirrors are a lot cheaper to manufacture than lenses, which dramatically reduces the price tags for the entry-level and medium-ish reflecting telescopes.
Of course, there are super large models, say 36 inches that cost a few thousand dollars but that’s really not the masses. Their lower cost can also be explained by the fact that they do not require an extensively long OTA.
Due to their optical system which is designed to “fold” the light path (and by extension the focal length), it means you can enjoy a super long focal length in a tube that’s twice shorter. Less material means a cheaper price.
2. They can collect a lot more light and offer better views of more distant objects
Most beginners usually start with a 6-inch and then work their way up. Having access to a larger aperture straight off the bat is wonderful for newcomers because it will allow you to see much more of the night sky, and you won’t be limited to just the moon and the planets. A large aperture means you can also observe far-distant deep-sky objects such as galaxies, nebulas, and star clusters.
I have yet to see someone looking into the eyepiece of a reflector and not be amazed at what they can see very their very own eyes. They literally zoom in deep and give you a feeling that the night sky is at arm's reach.
3. They do not suffer from chromatic aberrations
Since they use a primary and a secondary mirror, reflectors do not suffer from chromatic aberration (false color) as refractors do. It may however, depending on the type of reflecting telescope you have, suffer from other aberrations such as spherical aberration, astigmatism and coma.
There are many types of reflector telescope: the most popular is the Newtonian, and then comes variants such as the Cassegrain, Ritchey-Chrétien or the Maksutov. They all use different types of mirrors and optical configurations to combat those optical aberrations.
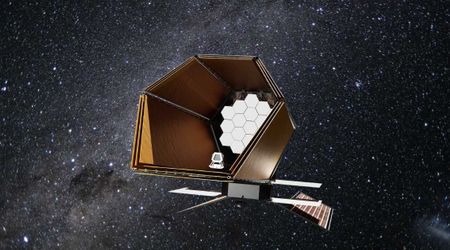
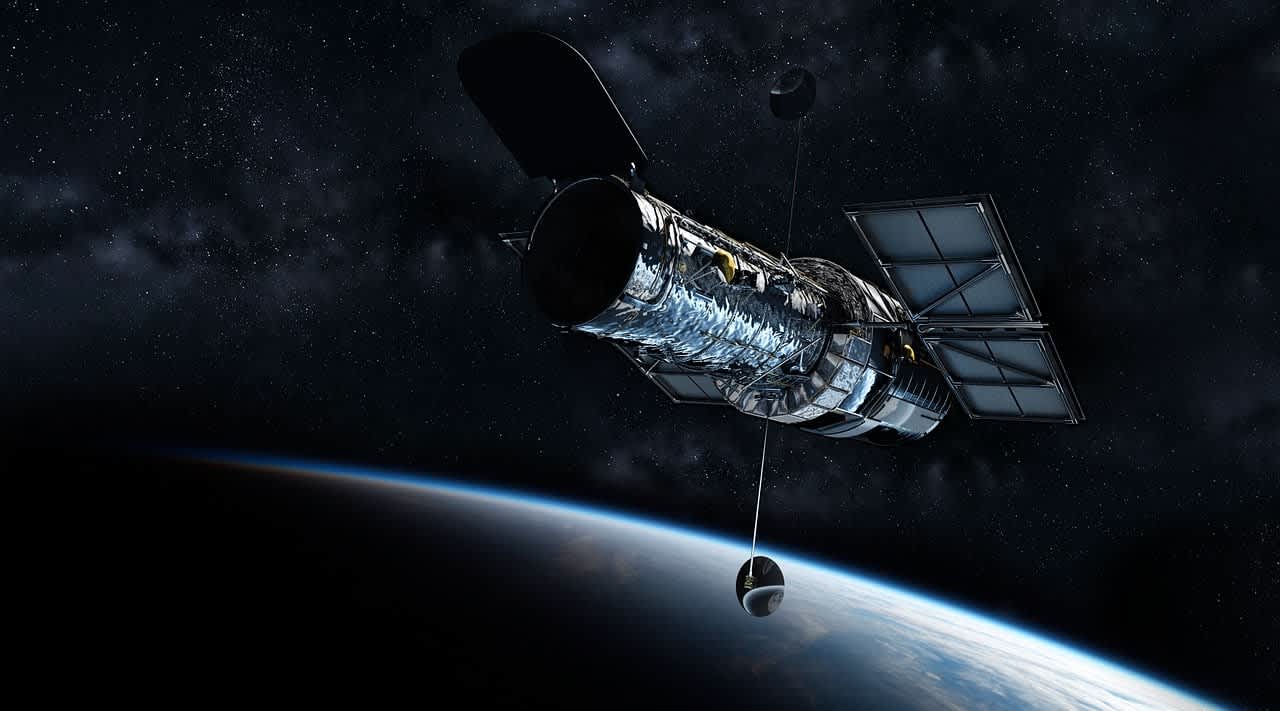
4. They are the chosen type for space telescopes!
Ok, this one might not pertain to you personally but I thought it'd be interesting to mention this nonetheless. Both the Hubble Space Telescope and the James Webb Space Telescope are reflectors, and I think it’s a testament to how powerful this optical design is.
They can reach the furthest reach of the universe and photograph cosmic wonders for us to enjoy. I think it’s very apparent that they are my favourite type of telescope by now, especially the Dobsonian telescope design. However, not everything is perfect in the reflecting telescope world. So let’s take a look at their disadvantages.
Reflector Disadvantages
1. They are bulkier and less portable
No matter the type of reflector, they will be bulkier than their refracting counterparts. This makes them a little less portable as a larger aperture telescope will sport a larger OTA which is not easy to move about on your own. They will take up more telescope storage space in your home or in your shed.
This also means they might not fit on the trunk of your car, and if you were planning to take your telescope to a location with lower levels of light pollution, that could be a bummer. Now most entry-level reflecting telescopes, say 4 to 8-inch in aperture size, should not be that much of an encumbrance.
Additionally, some reflectors are designed to be collapsible: they typically consist of multiple sections that can be extended and locked into place to form the full-length telescope and collapsed back down when not in use. That functionality comes at a higher price tag tho.
2. They require regular collimation and maintenance
Collimation is the act of aligning the primary and secondary mirrors so that the rays of light are perfectly directed through the tube. A bad alignment will often lead to some light rays completely missing the secondary mirror and thus result in a loss in image quality at the eyepiece. To use your telescope at its maximum potential, you must ensure your mirrors are aligned perfectly.
You’ll need to regularly check this alignment and collimate your telescope. This is a process a few astronomer amateur dislike but really, once you are used to doing it, it won’t take more than a few minutes. Check how my guide on why your telescope image might be blurry and I touch upon the collimation process in the article.
3. They require longer acclimatization time
Newtonian telescopes are made of material that will ever so slightly expand or retract depending on the surrounding temperature. This slight change of size might only be in the millimetres and really does not feel like it's a big deal.
But when you are collecting photons and directing them precisely within your OTA, a few millimetres may well be the difference between a crispy sharp image and a blurry, shaky mess.
Where you store your telescope is probably a little (or a lot) warmer than your backyard. That’s why it’s good to let your telescope acclimate to the outside temperature for 15 to 30 minutes before starting your observing session. When it comes to reflectors, they’ll likely need to acclimate for longer than refractors due to the fact that they are much larger.
Comparison summary
In the below table, I compare both telescope designs against more than 50 key factors.
|
Key Factors |
Refracting Telescope |
Reflecting Telescope |
|
Budget required |
Higher |
Lower |
|
Aperture size capability |
Smaller |
Larger |
|
Focal length capability |
Longer |
Shorter |
|
Optical design |
Lens |
Mirror |
|
Mount compatibility |
Limited |
Versatile |
|
Portability |
More portable |
Less portable |
|
Ease of use |
Easier |
More complex |
|
Astrophotography capability |
Great |
Better |
|
Motorized tracking |
Available |
Available |
|
Acclimatization time |
Shorter |
Longer |
|
Storage |
Smaller |
Larger |
|
Upgradeability |
Limited |
More flexible |
|
Image stability |
Less stable |
More stable |
|
Field of view |
Narrower |
Wider |
|
Fixability |
Harder to fix |
Easier to fix |
|
Planetary imaging performance |
Good |
Better |
|
Deep-sky object visibility |
Poor |
Better |
|
Moon observing capability |
Good |
Better |
|
Set up time |
Shorter |
Longer |
|
Optical tube weight |
Lighter |
Heavier |
|
Polar alignment |
Easy |
Easy |
|
Telescope maintenance requirements |
Less maintenance required |
More maintenance required |
|
Chromatic aberrations |
More likely to occur |
Less likely to occur |
|
Best for beginners |
Good |
Better |
|
Expected lifetime of the telescope |
Depends on care |
Depends on care |
|
Local dealer support |
Good |
Good |
|
Outreach and educational program suitability |
Good |
Better |
|
Neck comfortability whilst observing |
Less comfortable |
More comfortable |
|
Steadiness |
Less steady |
More steady |
|
Light gathering power |
Lower |
Higher |
|
Contrast |
Lower |
Higher |
|
Collimation |
Not required |
Required regularly |
|
Obstruction |
None |
Secondary mirror obstruction |
|
Cooling time |
Shorter |
Longer |
|
Coma |
Not present |
Present in fast reflectors |
|
Image orientation |
Upright |
Inverted or mirrored |
|
Color fidelity |
Better |
Lower |
|
Image brightness |
Lower |
Higher |
|
Aperture obstruction |
Not present |
Present in certain designs |
|
Atmospheric dispersion correction |
Required |
Not required |
|
Narrowband imaging capability |
Limited |
Better |
|
Off-axis performance |
Worse |
Better |
|
Thermal stability |
Poor |
Better |
|
Dew prevention |
More difficult |
Easier |
|
Resolving power |
Limited by aperture |
Limited by optical quality |
|
Durable materials |
Glass, aluminum, and plastic |
Glass, metal, and carbon fiber |
|
Observing chair compatibility |
More compatible |
Less compatible |
|
Pointing accuracy |
Better |
Worse |
Conclusion
The choice between these two types of telescopes ultimately depends on your personal preferences, observing goals, and budget. From a purely objective point of view, both refractors and reflectors are fantastic types of telescopes. They both have strengths and flaws but ultimately they both allow you to scour the night sky and observe the celestial wonders of space.
I personally prefer reflectors because I think you get the best bang for your buck. For me, the most important thing is to choose equipment that will nurture your passion for stargazing and help it grow into a lifelong hobby. I believe the path towards this is to choose a telescope that is budget-friendly and easy to use, so you can be sure to use it as often as possible.
Seasoned astronomers will often advise you to stay away from “hobby-killers” and that means telescopes that are too cheap and too low quality. In addition, I will also advise you to stay away from high-end telescopes that may be way out of your technical knowledge. In both cases, you may end up too frustrated and simply put this hobby on the back burner.
The point I am trying to make here is: whether you end up choosing a refractor or a reflector, make sure the model you have chosen suits your current stargazing ability.
Good luck and clear skies!