
4 Reasons Why Your Telescope is Blurry & How to Fix it
Last Updated: May 19, 2022
There’s nothing quite like spending a clear night out under the stars, taking in the beauty of the universe through your telescope. Like every hobby, things can sometimes go wrong- and in this case, it might be that your telescope is giving you blurry images.
There are several possible explanations for why your telescope might be giving you a fuzzy picture, but don’t worry – every problem has a solution! Let’s jump right into it so you can get back to your astronomical observations as soon as possible.
Issue #1: You are using the wrong eyepiece or it is poorly adjusted
The first thing you should do if you’re getting blurry images is to check your eyepiece. This is the most common reason for blurry images, and it’s an easy fix! Make sure that your eyepiece is screwed in tightly and positioned correctly before you start observing.
Most telescope eyepieces have a focus knob which, when turned, adjusts the distance between the telescope optics and the eyepiece optics. If this isn’t set correctly, you’ll see a blurry image.
How to fix this
Make sure the eyepiece is well adjusted and that it is clean! Over time, dirt and dust can build up on the lens of your eyepiece, causing the images you see to be less clear. To clean your eyepiece, all you need is some distilled water and a soft, lint-free cloth.
Lastly, make sure you are using the right eyepiece for the job. If you’re trying to observe a high-magnification target such as Saturn with a low-power eyepiece, this will result in a very blurry image. Check out my guides on telescope focal length and telescope magnification.
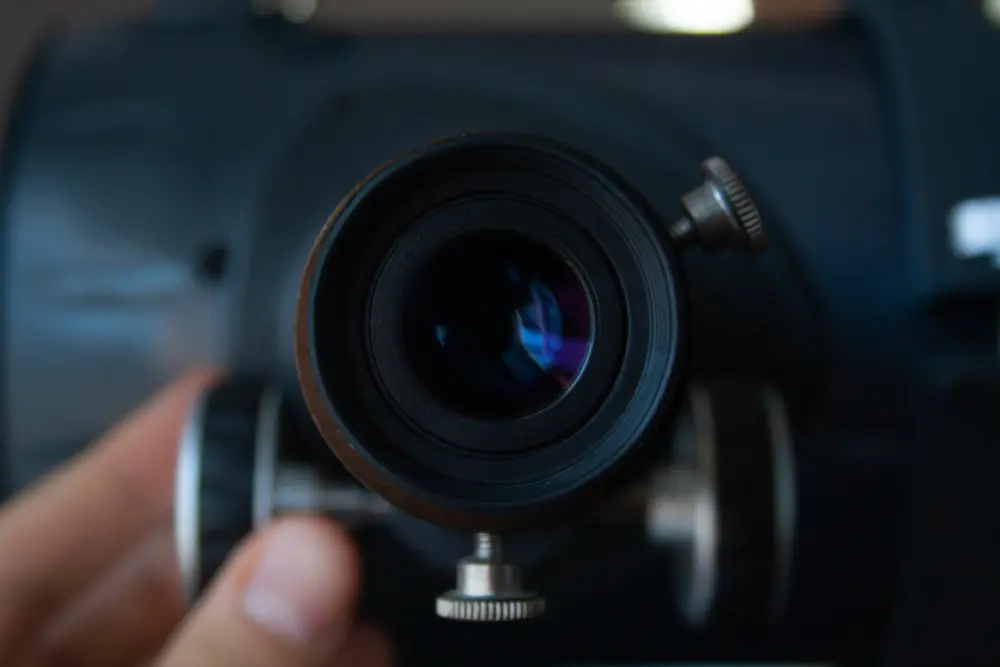
You should see your astronomical target come into focus as you rotate the knob.
Issue #2: Your telescope optics are too dirty
Dirty optics are another common reason for blurry images in telescopes. When photons enter your telescope, they do so through the aperture (the objective lens if you are using a refractor telescope or they bounce off the primary mirror if you are using a reflecting telescope). The photons then reflect off the secondary mirror before passing through the eyepiece.
That’s a lot of surfaces for dirt and dust to accumulate on.
Those precious photons contain all of the information necessary for your eyes and your brain to process images from the cosmos. When dirt and dust accumulate on your telescope optics, it scatters some of those photons, causing the light to enter your eye in an unfocused way and resulting in a blurry image.
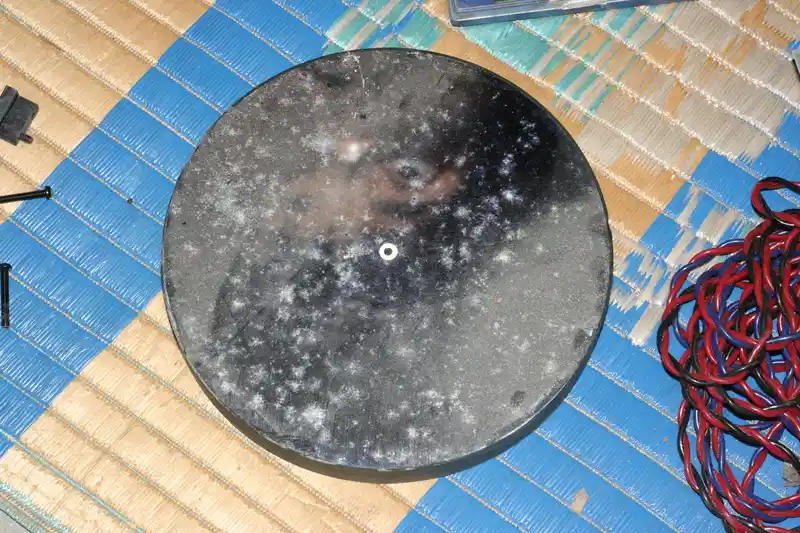
The above telescope mirror is in dire need of a cleanup. Credit: Prasanna Ramaswamy
How to fix this
Cleaning your telescope optics is a delicate process, and it should only be attempted by experienced telescope users. The reason is that telescope mirrors are coated with a coating that can be easily damaged if you’re not careful. If you accidentally remove this coating, your mirror won’t be as reflective and it will need to be replaced, which is an expensive process.
If you’re not comfortable cleaning your own optics, I recommend taking your telescope to a professional for service. If you are confident enough, I recommend you to follow the below tutorial from the Galactic Hunter Youtube channel.
Issue #3: Your telescope mirrors are not aligned
If your telescope uses mirrors (either a reflector or a catadioptric), then those mirrors need to be aligned, or “collimated.” When the primary and secondary mirrors are properly aligned, the light entering the telescope is focused correctly and you’ll see a sharp image.
If the mirrors are misaligned, some of the photons won’t be transferred between the primary mirror and the secondary mirror, they’ll miss it and the light will not focus correctly, resulting in a blurry image.
It’s a rather common thing for telescope mirrors to become misaligned over time, especially if your telescope is frequently moved around.
How to fix this
The process of aligning your telescope mirrors is called “collimation.” It’s a relatively easy process that can be done by almost anyone, but it does require that you have some tools on hand, such as a laser collimator.
You can align the primary mirror of a reflecting telescope by adjusting the three screws that hold it in place in the back of the OTA (optical assembly tube).
There are many great resources on how to collimate your telescope, but I recommend this video from the Michael Bernardo:
Generally speaking, refracting telescopes does not require as much maintenance as reflecting telescopes, but their lenses can still become misaligned over time.
To fix this, follow this tutorial from Australian telescope supplier OXScope: https://www.ozscopes.com.au/collimating-a-refractor-telescope.html
Issue #4: There are lots of atmospheric turbulences in your local sky
Atmospheric turbulences are a phenomenon caused by the different gases that make up the atmosphere. Our planet’s atmosphere constantly moving and changing and these movements cause the air to be filled with pockets of different densities.
This affects the way that light travels through the atmosphere. This is what causes that “twinkling” effect you see when you look at stars in the night sky.
A good analogy is to consider the sky as a river, and the planet you are trying to observe is a fish in that river. Now, if the river is flowing slowly and smoothly, you’ll be able to see the fish quite clearly. But if the river is flowing rapidly, the fish will start looking blurry.
The same is true for light. If the atmosphere is turbulent, it will be much harder to see distant objects clearly. In astronomical terms, this is called “seeing.”
How to avoid this
You can not avoid turbulences that are happening high in the sky, that’s just impossible, unfortunately. However, you can reduce the effect of atmospheric turbulences around you by following the below few steps:
- Avoid observing objects that are directly located above houses, as hot air coming out of warmer homes can create a lot of turbulence.
- Avoid placing your telescope on any concrete surface that has been heated by the sun all day. As residual heat will influence the flow of air above you.
- If it’s very windy, try to find a sheltered spot where the wind can’t reach you, or wait until the wind dies down.
- Observe during the night, as the air is generally more stable in colder temperatures.
- If you are able to travel, try to find a place with a higher elevation. The higher you are, the less atmosphere there is between you and the object you are trying to observe. This means that the light will be less likely to be scattered and distorted by atmospheric turbulence. To find the highest point in your area, use this topographic map.
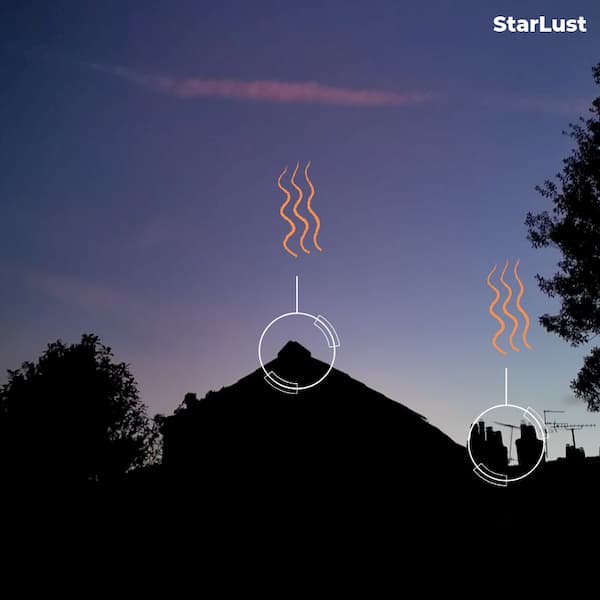
Air turbulence can be caused by the heat emanating from nearby houses.
What if my telescope is still blurry?
If none of these solutions worked for you, you may need to contact the customer service department of the company that sold you your telescope and ask for help in solving the problem.
If your telescope’s warranty is still valid, they may be able to help you fix the problem for free or replace it entirely.An alternative solution can be to contact your local astronomy club and ask if a more experienced astronomer could take a look at your telescope and diagnose the problem. Sometimes, a second opinion is all you need.
Good luck and clear skies!

Telescopes are complex optical systems and it can take a little time to learn how to use them optimally. I hope to make this learning process a little easier by providing some of my tips and my experience on how to get the most out of your telescope.
Wow! There's more to read 🚀
This page is part of our collection of telescope guides. If you enjoyed the read, then you’ll love the following articles.
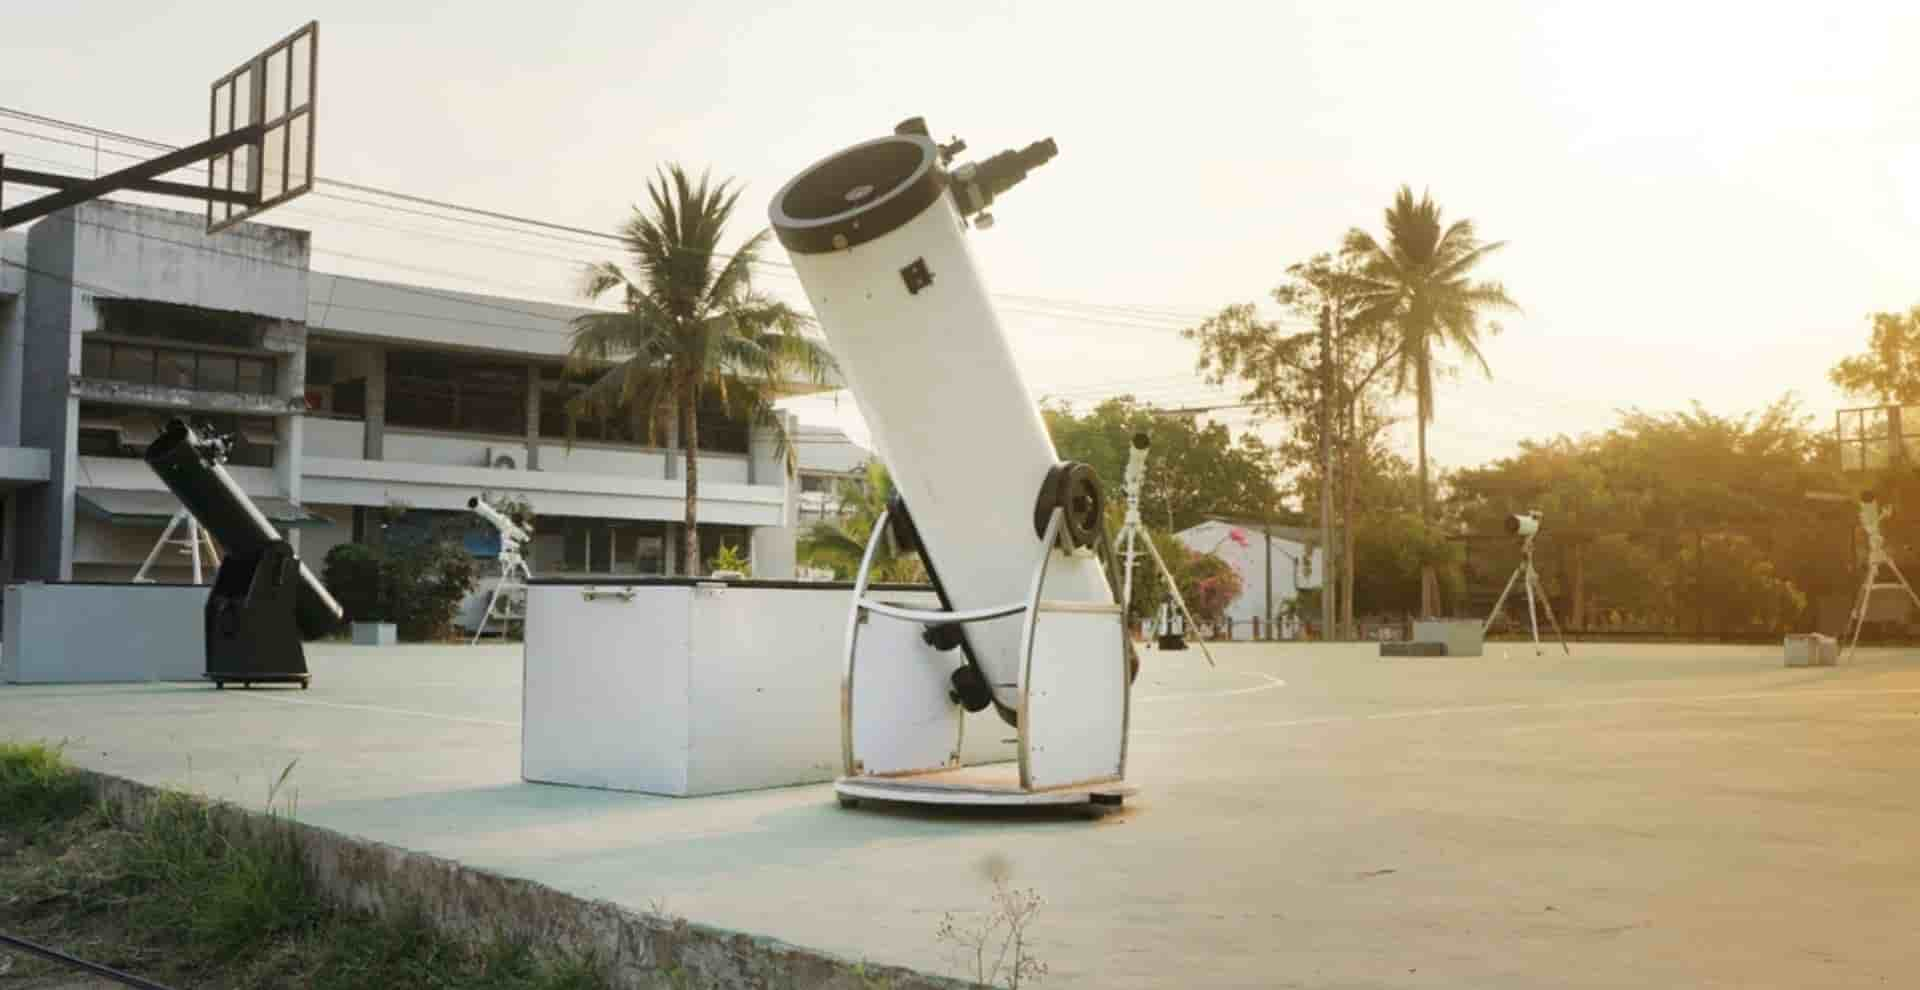
Dobsonian telescopes are a type of reflecting telescope. They are very popular in the visual astronomy community.
Choosing a new telescope can be a difficult decision. That’s why we’ve made a list of the most important things to know before buying a telescope for the first time.
Telescopes are often thought of as tools only made for stargazing at night, but daytime observings can be just as rewarding.
