How to make DIY solar eclipse glasses (safe methods)
Last Updated: December 6, 2022
Planning ahead for the next solar eclipse? In 2017, we saw solar eclipse glasses run out from every reputable vendor online and even recipients of free NASA supplies like museums and libraries as the eclipse approached.
The next total solar eclipse is on April 20th, 2023 if you happen to be in Western Australia, West Papua, or the surrounding ocean. More likely your next option will be the annular solar eclipse (with no totality) on October 14th, 2023 in North, Central, or South America or the total solar eclipse on April 8th, 2024, also in the Americas.
Planning ahead is highly recommended and even so, you might need some after they are gone. Let’s go over some safe DIY options to view the eclipse.
A word about safety first
The only safe way to observe the sun when it is uneclipsed or partially eclipsed is through special-purpose solar filters, such as “eclipse glasses” or hand-held solar viewers. You risk permanent eye damage otherwise. Only during the few minutes of totality when the moon completely eclipses the Sun can you observe it without solar filters before having to don them again when it begins moving away.
Filters must be compliant with the ISO 12312-2 international safety standard even if you purchase them ready-made! There were lots of scam products in 2017 so make sure to protect yourself by checking the American Astronomical Society (AAS) Reputable Vendors of Solar Filters & Viewers Guide.
Always inspect your filter before use. Even reputable solar eclipse glasses degrade with time. While the 3-year expiration date that has often been associated with solar eclipse glasses is outdated, the longer you have them, the higher chance it is that the filter has been scratched or damaged. Always test it using the manufacturer’s instructions, usually by having someone shine a flashlight at you to see if any light comes through unfiltered.
Do not look at the eclipse/ sun through unfiltered means including cameras, telescopes without a verified solar filter, binoculars, your eyes, etc.
If you do not have access to verified solar glasses or your solar glasses are damaged, you cannot view the eclipse directly without risking permanent eye damage. Instead, you will need to view the eclipse indirectly such as through a pinhole viewer, in the shade of trees, or indirectly using binoculars.
For more detailed information, check out NASA’s Eclipse Safety page.
The ideal method is to plan ahead (as in months or even a full year) and purchase reputable eclipse glasses and then store them safely, ensuring they cannot be bent, scratched, or damaged in other ways. Plan to inspect and test them ahead of time again to ensure you can make other arrangements.
There are many DIY options to view a total solar eclipse safely, though most are indirect. Let’s walk through them!
How to make DIY safe eclipse glasses
If you plan ahead and can obtain high-quality, ISO-certified solar films using a reputable list, you can DIY your own eclipse glasses. If you cannot obtain certified solar films, you cannot create safe solar eclipse glasses and therefore will need to read on to our indirect methods of viewing the solar eclipse.
With the ISO-certified solar film, you can make your own DIY solar eclipse glasses either using repurposed cardboard glasses or by creating paper glasses using a template. Both versions have essentially the same 4 basic steps with the first step having the most variation between the two options:
- Prep Your Frames
- Cut Out Solar Filter Lenses
- Secure Filters with Tape
- Test Your Glasses
Eclipse glasses using drawn-out/ template frames:
Materials:
- An ISO-certified solar filter
- A large piece of poster board or card stock
- A template for your glasses
- Tape
- Scissors
- A pen
Directions:
- Prep Your Frames:
- Create your template
- Print your template on cardstock such as this one from NASA on DIY 3-D glasses
- OR place your poster board/ cardstock on a flat surface, and draw the glasses using images from a “paper glasses template” internet search or another template such as the one above as a guide (Tip: rectangular eye holes are often easiest as the filters will be easiest to cut into rectangles as opposed to circles or other shapes.)
- Cut it out using scissors
- Decorate if you wish
- Create your template
- Cut Out Solar Filter Lenses
- Carefully measure the eye holes of your glasses, adding slightly more so there is some overlap and no chance of light seeping through (an extra couple of millimeters usually does the trick).
- Then cut out the corresponding measurements from the solar filters. Be VERY careful not to damage the filters in any way such as by scratching or puncturing them. Any deformity can harm the filter and increase your risk of damage.
- Tape it all together!
- Attach your lenses to your glasses by taping down all edges securely
- If necessary, tape the earpieces to your main glasses piece.
- Test Your Glasses
- Inspect your work by holding them up to a light source and seeing if any light slips through any scratches, etc.
- Test them by wearing them and having a friend shine a flashlight at you to see if any unfiltered light (without a yellow/ orange hue) comes through.
- Prep Your Frames:
- If there is a leak, they are NOT safe and you should either try again or use an indirect method (see below).
How to make eclipse glasses using repurposed frames
Materials:
- An ISO-certified solar filter
- Repurposed glasses such as old solar eclipse glasses, old 3-D glasses, etc.
- Tape
Directions:
- Prep Your Frames:
- Ensure that they are in good condition and pop out the existing lenses
- Make Solar Filter Lenses
- Carefully measure the eye holes of your glasses, adding slightly more so there is some overlap and no chance of light seeping through (an extra couple of millimeters usually does the trick).
- Then cut out the corresponding measurements from the solar filters. Be VERY careful not to damage the filters in any way such as by scratching or puncturing them. Any deformity can harm the filter and increase your risk of damage.
- Secure Filters With Tape
- Attach your lenses to your glasses by taping down all edges securely
- Test Your Glasses
- Inspect your work by holding them up to a light source and seeing if any light slips through any scratches, etc.
- Test them by wearing them and having a friend shine a flashlight at you to see if any unfiltered light (without a yellow/ orange hue) comes through.
- Prep Your Frames:
- If there is a leak, they are NOT safe and you should either try again or use an indirect method (see below).
How to make a DIY Pinhole Viewers/ Projectors
If you are unable to obtain ISO-certified eclipse glasses or solar filters, you will need to use indirect means. The easiest is a pinhole viewer/ projector. The Sun puts out an enormous amount of light, so much so that our eyes will be damaged by its full force after prolonged viewing. The point of a solar filter is to filter out as much light as possible to make it safe.
The same effect can be done with a pinhole projection by only letting a pinhole of light through and projecting it. There are a number of easy DIY methods depending on your time and materials.
Nature’s Pinhole Camera
This method requires no materials or work on your part. Just find a nice leafy tree and look at its shadow, ideally on a bright, even surface such as concrete. The holes in between the leaves do all the work for you and you will see the Sun be eclipsed by the Moon multiplied many times, due to the many leaves.
Pinhole Camera (simple DIY method):
Materials:
- 2 pieces of stiff white paper like cardstock or even notecards
- Tack/ Pin
Instructions:
- Using the tack/ pin, make a hole in one of the pieces of stiff paper.
- Stand with your back to the sun and hold the paper with the hole in front of the other, experimenting with the exact position and how far away each is from the other until you see the image of the Sun being eclipsed by the moon.
- Variation: especially if the paper is larger (letter-sized is fine), you can even have one of the ground and stand above it with the other.
Pinhole Projector/ Viewer (more advanced DIY method):
Materials:
- Cardboard box (a cereal box is ideal, but any rectangular cardboard box will do)
- Scissors or an X-Acto knife if your cardboard is thick
- Tack/ Pin/ Pen
- Piece of computer paper
- Foil
- Tape
Instructions:
- Tape a piece of paper on a wall of the box that provides the most amount of length when looking from the opposite end, i.e on the bottom of the cereal box. Feel free to cut it to size first. This is your “projector screen”.
- Cut a small 1-inch square hole on the opposite end (i.e. the top flap of the cereal box) on the left.
- Cut a piece of aluminum foil to go over this hole.
- Tape the aluminum foil over the hole.
- Using the tack/ pin/ pen, pop a tiny hole in the foil.
- Create your viewing hole by cutting a hole on the other side of the wall of the box (i.e. the right side of the top flap of your cereal box.
- Stand with your back facing the sun and look in through your viewing hole on the right to see the moon eclipse the Sun on your projector screen on the other side.
Conclusion
A total solar eclipse is a rare and beautiful sight to behold, but it can be dangerous if you don’t protect your eyes! While there are many ways to DIY indirect viewing methods such as pinhole projectors, making your own safe eclipse glasses can be difficult even if you obtain the necessary high-quality ISO-certified solar filters.
In general, I recommend planning ahead and purchasing certified glasses and/ or making pinhole projectors to make sure your eyes are safe.

Sarah Hoffschwelle is a freelance writer who covers a combination of topics including astronomy, general science and STEM, self-development, art, and societal commentary. In the past, Sarah worked in educational nonprofits providing free-choice learning experiences for audiences ages 2-99. As a lifelong space nerd, she loves sharing the universe with others through her words. She currently writes on Medium at https://medium.com/@sarah-marie and authors self-help and children’s books.
Wow! There's more to read 🚀
This page is part of our collection of stargazing guides. If you enjoyed the read, then you’ll love the following articles.
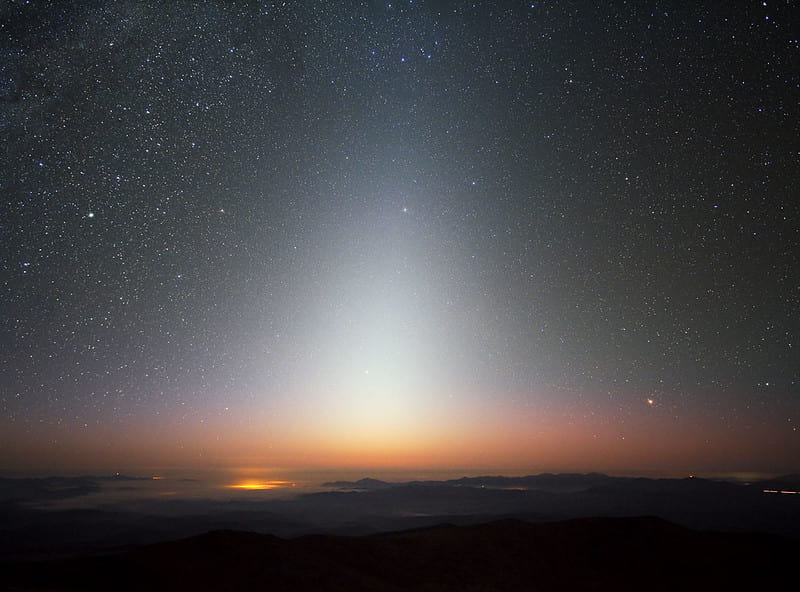
The zodiacal light, also known as “False Dawn” is a triangle-shaped faint glow that can sometimes be seen shortly after sunset or before dawn.
Using binoculars for stargazing is a fairly inexpensive way to observe many celestial objects with your own eyes.
